In the Incidents section, you can document any incident or violation that occurs on your property. To navigate to your Incidents, you will find it in the off-canvas menu by clicking on the menu bars at the top right of the screen.
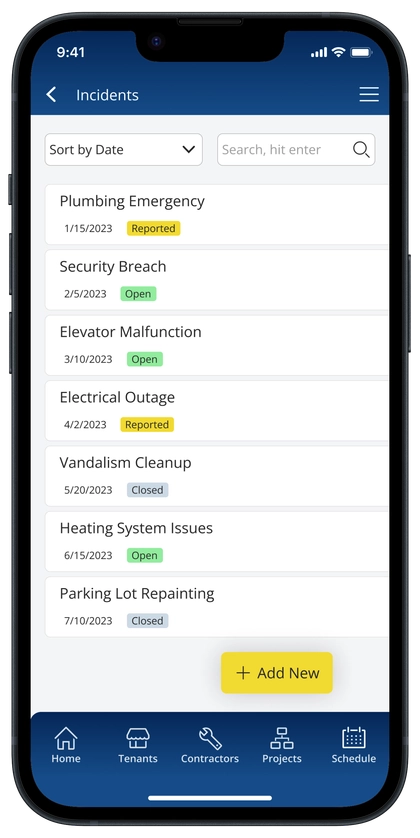
At the top, you have options to sort the list by the available options in the ‘Sort’ dropdown, or you can start typing in the search bar to filter the list with a search query.
Each block in the list contains the following elements:
Title: The name of the incident
Date: The date the incident was logged in the app
Status: The current state of the incident
Open – The incident is logged and has not been dealt with
Reported – The incident has been reported to the necessary authorities
Closed – The incident has been dealt with and no longer needs attention
Add Incidents #
To add an incident, click the floating ‘Add New’ button at the bottom right of the screen. On the next screen, fill in all the details for that incident, then click ‘Confirm’ to save. If you do not want to save your changes, click ‘Cancel’ to go back to the previous screen.
Delete Incidents #
To delete an incident, click on its name to navigate to the ‘Incident Details’ screen. At the bottom right of your screen click the ‘Delete’ button. When you are prompted to confirm deleting the incident, click ‘Yes, Delete’ to confirm deletion. Otherwise, click ‘No, go back’ if you do not want to remove the incident.
**Note: All deletions are permanent and cannot be undone.


